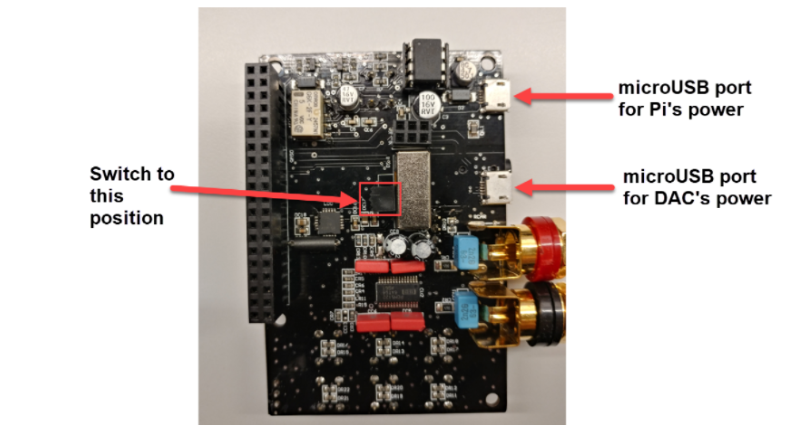
Power Selection
In both cases, you do not need to plug in to the microUSB port in the Raspberry Pi. The DAC powers the Pi as well.
- Power by single microUSB (Shared power with Raspberry Pi). For NanoSound DAC 2, there is no need to switch the position and it’s done automatically.

- Individually Powered. For NanoSound DAC 2, there is no need to switch the position and it’s done automatically.
Screws Assembly
There are 2 configurations to assemble NanoSound, Short and Tall configuration. Tall configuration is needed if you are using Amp^2 / Amp 10 with Raspberry Pi 4 because heat sink is highly recommended.
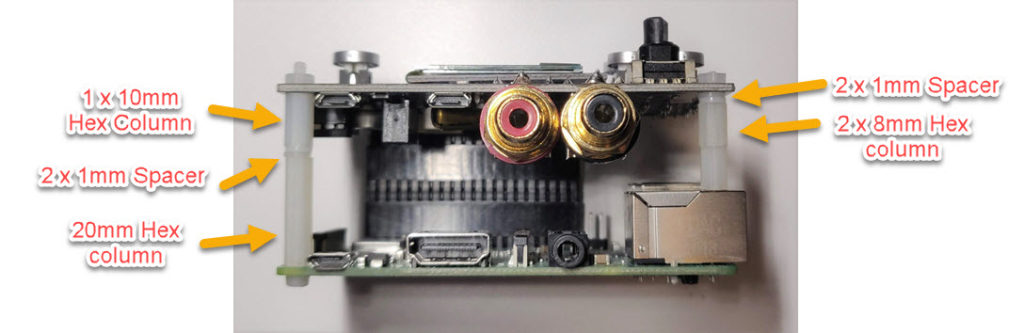
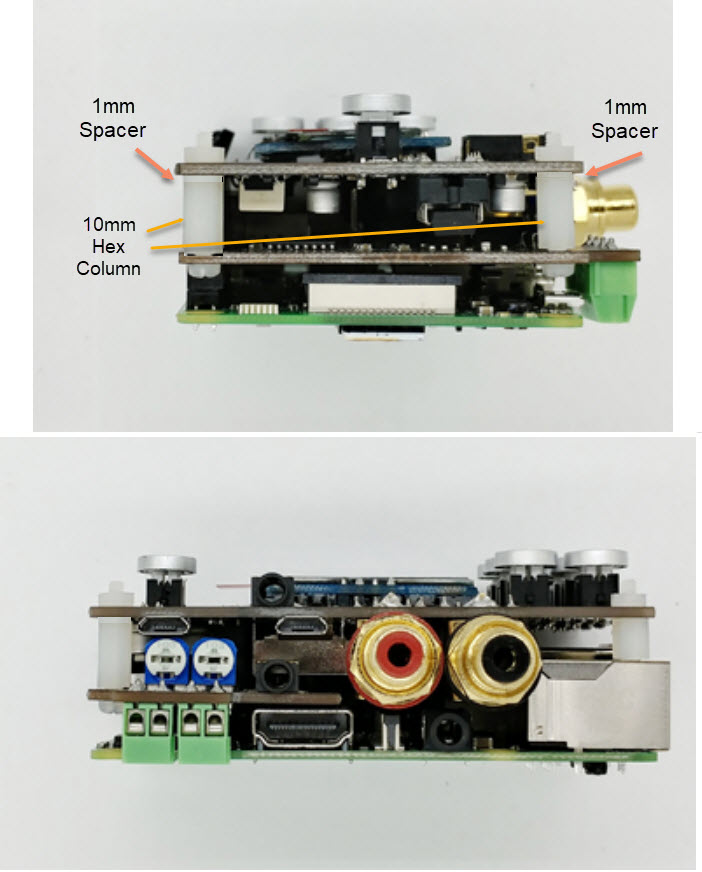
Short Configuration- NanoSound DACs only
Assemble the included screws as shown below. Videos here
With Raspberry Pi 2 / 3
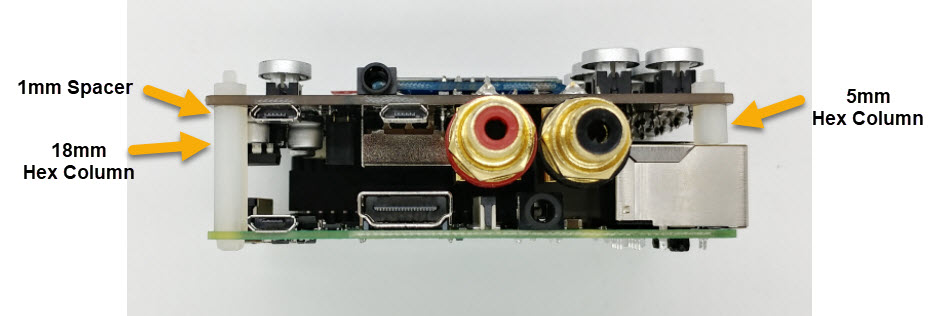
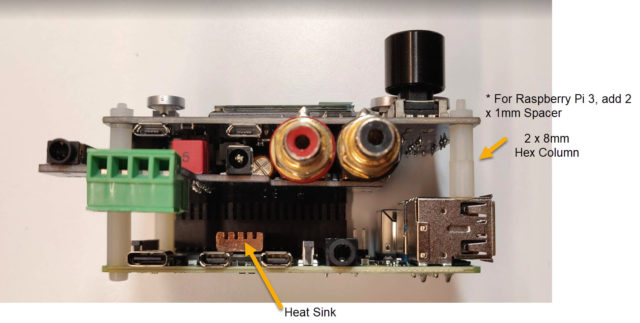
With Raspberry Pi 4
Short Configuration – NanoSound DACs & NanoSound AMP^2
- Mount the amp to the bottom of DAC. Add the 2 x 1mm as shown. The 2 boards should be roughly parallel. Videos here
- Mount them onto the Raspberry Pi as shown. The speaker terminals will cover the Raspberry Pis microUSB power. This is not a problem since the DAC will power the Raspberry Pi as well.
Tall Configuration – NanoSound DACs & NanoSound Amp^2 or Amp10
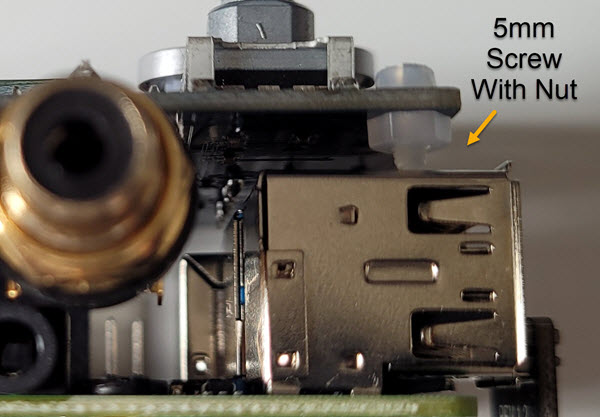
- Assemble the tall configuration as below, heat sink is highly recommended for Raspberry Pi 4 for better heat dissipation
Installation with amp

Installation without amp