How to upgrade the plugin if you have already installed
Method 1 – Install NanoSound plug-in on existing Volumio installation (Recommended for NanoSound DAC)
Use this way if you already have an existing Volumio 2 installation or you prepare to use the official volumio distribution
- Download and install Volumio if not already done so. See here for full instructions on how to install Volumio.
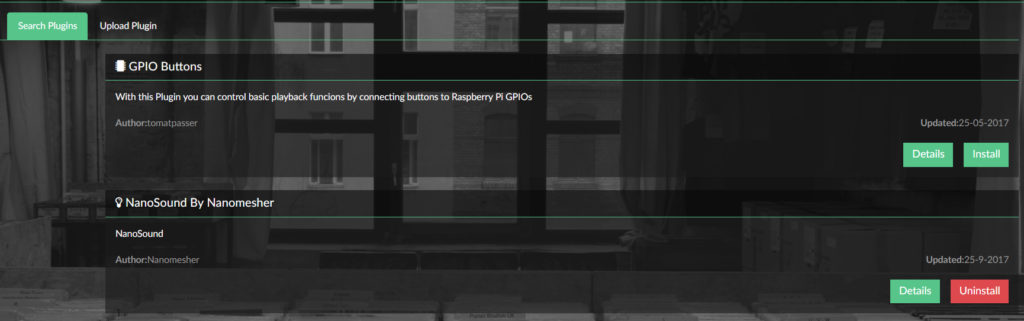
- After connected to Pi (Via Ethernet Cable or Wifi), go to http://volumio.local , go to the PLUGINS -> Search Plugin -> Accessories. Install the “NanoSound By Nanomesher” plug-in
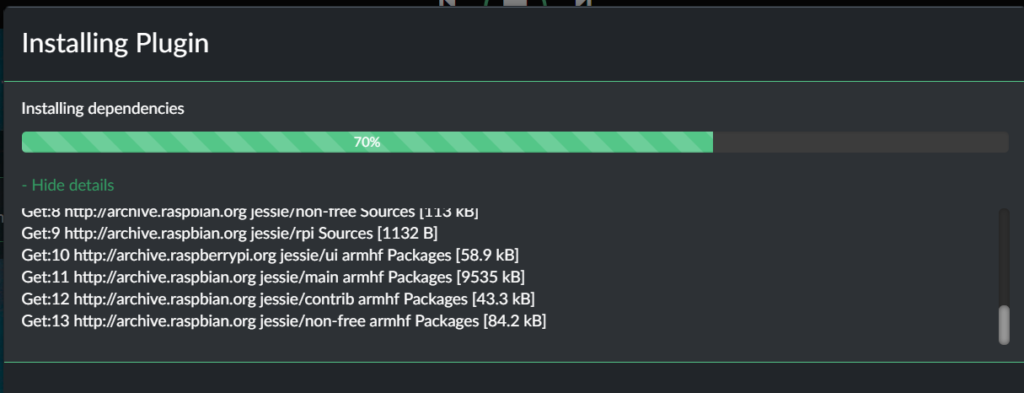
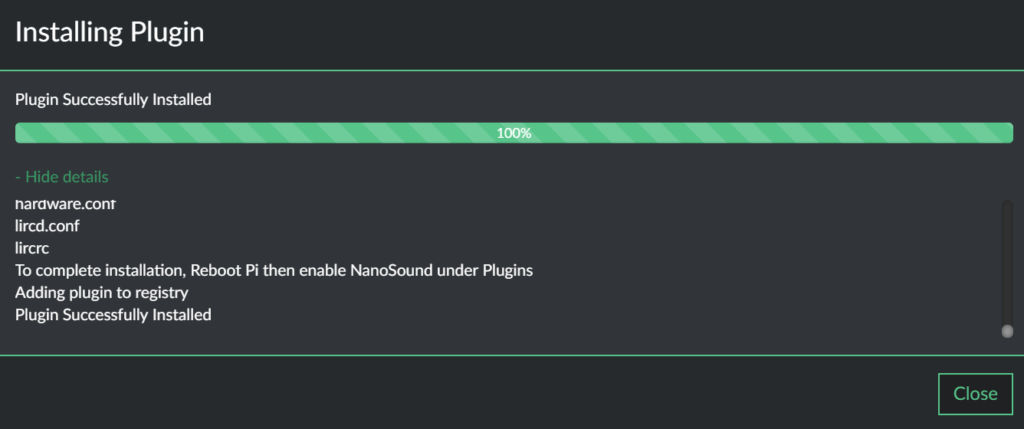
- Wait patiently for the Plugin install to finish. It might take 10-15mins depending on your internet connection.
- Configure the settings by following “Configuration for your DAC” section down this page
Method 2 – Using Pre-configured Volumio Image
This is an out of the box working volumio image with NanoSound & NanoSound CD plugin installed.
NanoSound DAC and CD Pre-installed Volumio image
Version: 2023-01-17
4240 Downloads
- Download pre-configure Volumio image with NanoSound plug-in installed above. This version now works with all Raspberry Pi models including Raspberry Pi 4.
- Find a computer with a SD card drive
- Use software such as win32diskimager , unzip and write the image downloaded onto an MicroSD card
- Insert the MicroSD into the Raspberry Pi
- Plug the Raspberry Pi using Ethernet network cable (or use the Built-in Wifi Hotspot after power up as detailed in here). You Do Not need to connect the HDMI port to a monitor
- Power up by using the power switch on NanoSound DAC.
- Go to http://volumio.local or check your ip address using this method and start enjoying Volumio.
- Configure the settings by following “Configuration for your DAC” section down this page
Method 3 – Manual install on your existing volumio
This method will download and install the latest nanosound plugin from nanomesher’s github.
- Run the following commands to download and install the plugin
cd /home/volumio
wget https://github.com/nanomesher/Nanomesher_NanoSound/raw/master/packages/install_nanosound.sh
chmod +x install_nanosound.sh
./install_nanosound.sh
- Wait for the installation to finish
- Configure the settings by following “Configuration for your DAC” section down this page
Configuration for your DAC
- In Plugins -> Installed Plugins , find the NanoSound by Nanomesher plug
- Enable the Plugin
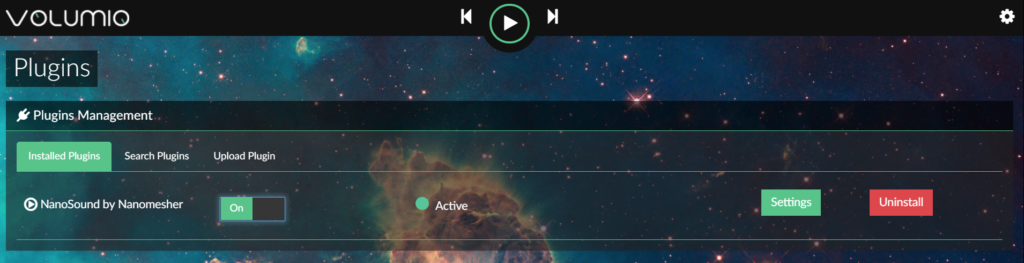
- Choose Settings
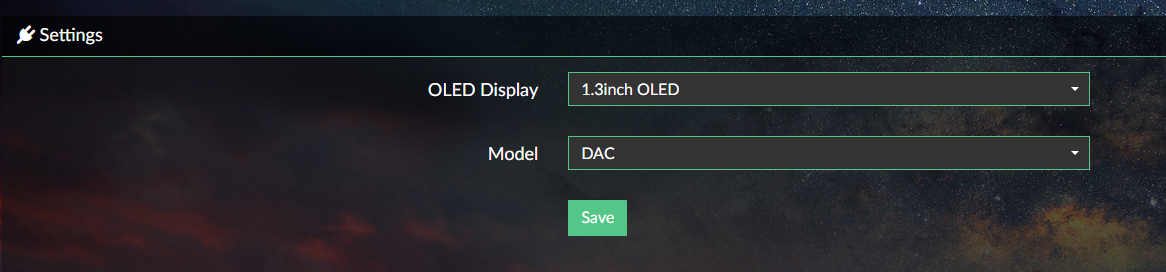
- Choose the settings depending on your model:
- NanoSound DAC Pro/Standard/Basic
- OLED Display: 1.3inch OLED
- Model: DAC
- NanoSound DAC 2 Pro
- OLED Display: 1.5inch OLED Colour
- Model: DAC2
- NanoSound DAC 2 Standard / Basic
- OLED Display: 1.3inch OLED
- Model: DAC2
- NanoSound DAC Pro/Standard/Basic
- ** IMPORTANT **. Power off and back on (not just restart) is required if you switch between DAC and DAC 2 Model.
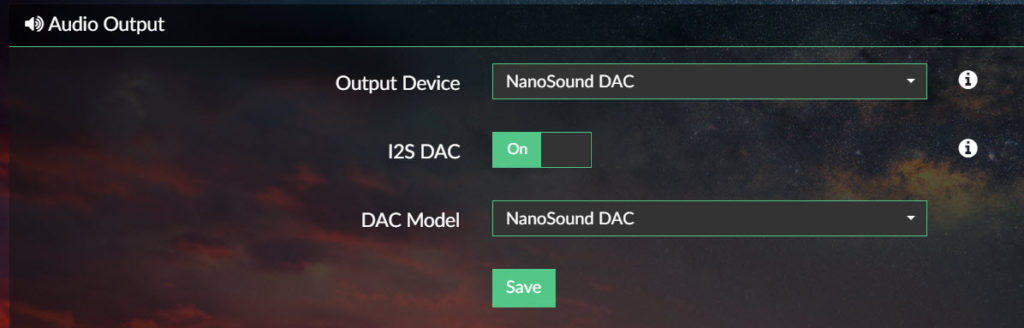
- In Playback options, set the following options.

- In DAC Model and Output Device, Select “NanoSound DAC” (Available after Volumio version 2.298) or “HifiBerry DAC Plus”